 Skip to content
 Painting the wall of a house does more than just make it look better. It also helps protect the house from things like wind and rain. This is important because painting can be expensive and take a lot of time. So, it’s crucial to do it right and use good materials. Doing a good job will make the paint last longer, so you won’t have to paint again too soon. Even though painting takes time, you can follow the simple instructions below to get started.
Step One of painting your wall:
Before you begin painting your wall or home, it’s essential to gather all the tools you’ll need. We discussed some of these tools in the previous post titled “Top 10 Equipment You’ll Need to Paint Your House.” Ensure you have everything ready before you start the painting process.
Step Two of painting your wall:
Picking the right time of year is crucial for painting your home’s exterior. Extremely cold or hot temperatures, below 4 degrees C or scorching, can mess up your paint job. To get the best results, aim to paint in late spring or early autumn. Don’t forget to check the weather forecast beforehand to ensure there’s no rain expected on the days you plan to paint of you paint outside of your house.
Step Three of painting your wall:
Clean the surface before you paint your house!
To prepare the surface for painting, start by washing down the walls using a hose. If you encounter any stubborn dirt, a wire brush and warm soapy water will help you scrub it off effectively. In case you’re dealing with particularly tough dirt or old paint flecks, a power washer can come in handy. Just be careful not to set the spray too high, as it could potentially damage the home.
When washing, always work from top to bottom, and allow the surface ample time to dry thoroughly before proceeding with the painting step.
Step Four of painting your wall:
Before you start painting, it’s important to check your house for any damage and carry out necessary repairs. Though it might require some effort, this step ensures your house will look its best after the paint job is complete. Take a walk around the house’s perimeter and carefully inspect for split shingles and siding, rust, mildew, and popped nails. Don’t limit your inspection to just the exterior walls; also, check under the eaves and around the foundation. Pay special attention to the areas surrounding windows and doors, where old caulk or putty might be missing or need replacement. Remove any rust and scrub away mildew. For cracked siding, fill and sand the affected areas. If you find loose caulking or split shingles, make sure to replace them. Additionally, address any issues with leaky gutters and downspouts by carrying out necessary repairs.
Step Five of painting your wall:
Calculate the paint amount needed
This website helps you calculate the paint amount you’ll need!
Measure house perimeter and height in meters, multiply for a single coat. Add an extra liter for safety. For gable ends, measure width and height in meters, divide by 2 for square meter dimensions. Consider the surface type and application method for accurate estimation.
Note!
certain surfaces like shingles, masonry, and stucco may need 10% to 15% more paint than smooth walls with the same area. The application method, like airless sprayers, may require up to twice as much paint compared to brushes or rollers for the same wall dimensions.
Step Six of painting your wall:
Selection of Paint
Select high-quality exterior paint, like 100 percent acrylic latex, for better color, faster drying, and long-lasting durability. Opt for cans labeled “premium” or “super-premium” with higher volume solids. Use paint specifically designed for exteriors, as it withstands weather conditions better than interior paint.
Choose a color that complements your home’s style, roof material, and any brick or stone accents. Get paint samples and test them on an obscured portion of your home to see how they look in different lights before making a decision.
Note that in some circumstances, you might need a primer before applying the paint.
Step Seven of painting your Wall:
Mixing all the Paint:
Mix all the paint from multiple cans in one large container, as the color may vary slightly between batches. This ensures an even color for your paint job. Keep the original paint cans to store any leftover paint after the task. Also, protect the surrounding area with drop cloths to avoid paint spills on sidewalks or landscaping.
Last Seven of Painting of your Wall:
Choose Painting Method
Choose your paint application method: brush for control, roller for efficiency, or paint sprayer for heavier coverage. Prefer spray and back-roll for speed and evenness, but it needs two people. Select what suits you best for a successful painting experience.
Paint Side
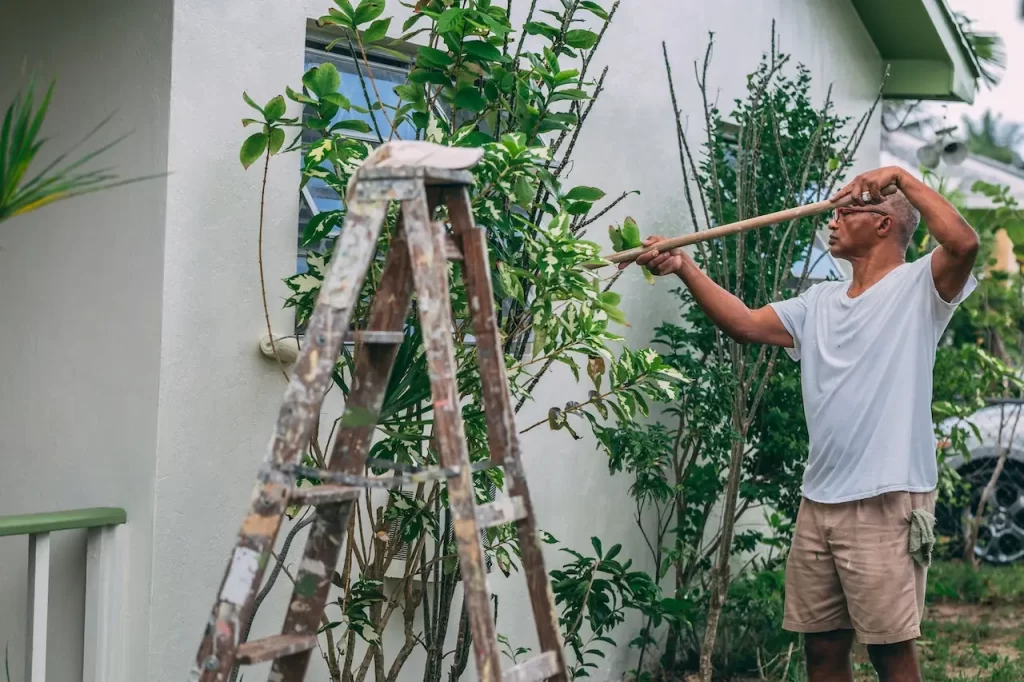
Paint sidings first, then tackle the trim. Work top to bottom and left to right for better coverage. Follow the sun’s path for optimal drying. Use ladders with caution, staying within arm’s reach and ensuring even placement.
Second Coat
Apply a second coat if possible. It evens out the paint, enhances protection, and brings out vibrant colors, making the finish look better and last longer.
Paint the trim
Paint the trim after finishing the sidings for a professional look. Use a brush or a small roller for efficiency. Work from top to bottom, covering gables, dormers, eaves, gutters, windows, doors, and foundations. Protect windows with masking tape. Give extra attention to window sills, applying 2-3 coats if needed. Remove hardware from doors and consider removing them for easier painting.
In Conclusion:
An enjoyable activity that lets you express your creativity and change the look of your living areas is painting your walls. Pick the ideal technique for your job from a brush for fine detail work, a roller for efficiency, or a paint sprayer for a more thorough application. For a polished finish, work from top to bottom, follow the sun for ideal drying and pay attention to the little things. Enjoy the process and be proud of the lovely outcomes you will obtain. Have fun drawing!
